Slider

recipe category
Showing posts with label recipe. Show all posts

Blueberry Lemon Pie Sundae

Friday, August 3, 2012

Blueberry Lemon Pie Sundae
**Update: try a dollop of lemon curd for extra lemon flavor... yummy!
Start with a sweet blueberry sauce made by cooking the berries with sugar and a squeeze of lemon {I used more} until thickened. 
Pour over ice cream; finish with crumbled gingersnaps or graham crackers.

Easy. Fun for summer. Tasty.


Eeks... "a lotta" Pictures

Thursday, July 5, 2012


I keep uploading pictures to this post in hopes of coming back to post them and have ended up with a whole lotta pictures.  I just can't seem to pull myself away from nesting projects and cleaning long enough to blog, but here goes. 
Today is the official start of harvest on the farm and the unofficial start of summer in the Pacific Northwest {the weather usually warms up after the fourth}.  My husband and a crew fired up the picking machine in the wee hours of the morning to commence blackcap harvest.  The combines rolled out of the yard a few hours ago to take on the first crimson field, and blueberries are right around the corner.  They are delicious as usual and I've actually had to start cutting SweetP and Jules off to avoid catastrophic results .:-)

Today we celebrate my sister's birthday and the birth of our nephew, Josiah!  Congratulations, Bryan and Amy!!!  

It is a mystery to me why the pregnancy hormones cause me to think everything needs to be turned upside down, cleaned, organized, perfected in some way, and beautified, and that it should have been done yesterday, but I am just going with it.  I find myself working like a dog {funny phrase as Buck spends a great deal of time sleeping}, so much so, that I hardly want to stop to take a shower or go for a walk, but make myself do both.      

I got a smart phone.  My cell phone bit the dust.  I have issues with technology and not wanting to be too immersed in it, but found myself walking out of the store with a very smart phone.  I don't know.  It takes amazing pictures, and video, you can talk to it, check your e-mail.  Lord help me.  If you see me wagging my thumb/ "scrolling" on my phone in public, please just hit me.  A perk of this smart phone is that I can take pictures and share them really easy.  I put a link for Instagram on the right side of the blog.  I think I took all of the pictures in this post with my phone. 

To go with the whole cleaning theme, I wanted to share two products.  First is a product I've wanted to try for a while and finally picked up at Target: Downy Wrinkle Releaser. It doesn't take the place of ironing {you still have to have a crease down the sleeve, right?}, but it works great in a pinch.  Also, it didn't change Olivia's dress color, I believe I just snapped the 'before' picture in the afternoon and didn't take the 'after' picture until the next morning.  Second, is a wonderful carpet cleaning recipe that my Mom has used for a few years and the stuff works fabulously. 
I recommend both. 


Downy Wrinkle Releaser


Downy Wrinkle Releaser 33.8 fl oz (1 L)


Now, for lots of pictures...
We love and need our walks! 
The little nuts got new kicks for all the miles we are going to put in this summer.
Looking for frogs
Inspecting the dirt
Buttercups... put them under your chin to see if you like butter.
 

We play lots of silly games to keep them amused and motivated! 
They were either flexing or pretending to be a gate here.

David and Olivia playing with my "smart phone".

Intrigued.

Not sure what to think.

She likes it.

Ballet camp

Shopping at Target
6 months preggers.  Two pregnancy shots already; I don't know what has gotten into me.  Note, the smart phone. :)
Auntie Liza put on the 2nd annual tea and this year we went to the Helvetia Lavender Farm.  It was beautiful, relaxing, entertaining, and all the proceeds go to the Good Samaritan Ministries.  Thank you, Liza! 
They even provided hats for the girls to wear.
Horsing around
The 4th of July Parade was especially good this year and the weather especially nice.  We enjoyed the parade and then had friends and family over for a barbecue, followed by Uncle Zach's impressive fireworks last night.
 
 
OK, I'm pooped; you?  Still, I must go organize a drawer or wash the kid's car seats or...

Peppermint Cake Pops, Whoopie Pies & Elves

Saturday, December 17, 2011

I told David this morning that this is truly the best time of our lives {as if he needs to be reminded:)}.  We are having so much fun as parents.  Tough Guy has us laughing out loud most of the time.  I don't even know how to begin describing the funny things he says and does because half of the humor is in his boy expressions, tone of voice or gestures that go along with what he is saying, but I'll try.  Early this morning he was getting ready to go on a quick errand with Daddy, so I met him at the garage door to send half of a bagel with cream cheese, but in our transfer, it landed face down on the dirty garage rug, covered with cooties.  David and I cringed, and I was about to throw it out, but no matter to Peyton, he quickly scooped it up and said in his most appreciative, excited tone, "thank you, Mama!".  He then turns, and leaning forward struts out the garage, and in his I'm-going-with-Daddy-and-I'm-important-voice says, "let's go, Daddy!'.  Oh, buddy!  Where did you come from? :)
Well, if it wasn't obvious, my inspiration for the delicious treats this week came from Starbucks, and here are a few more.  I looked up their menu online for some revelation and went to work.  Man, are they hitting the spot!
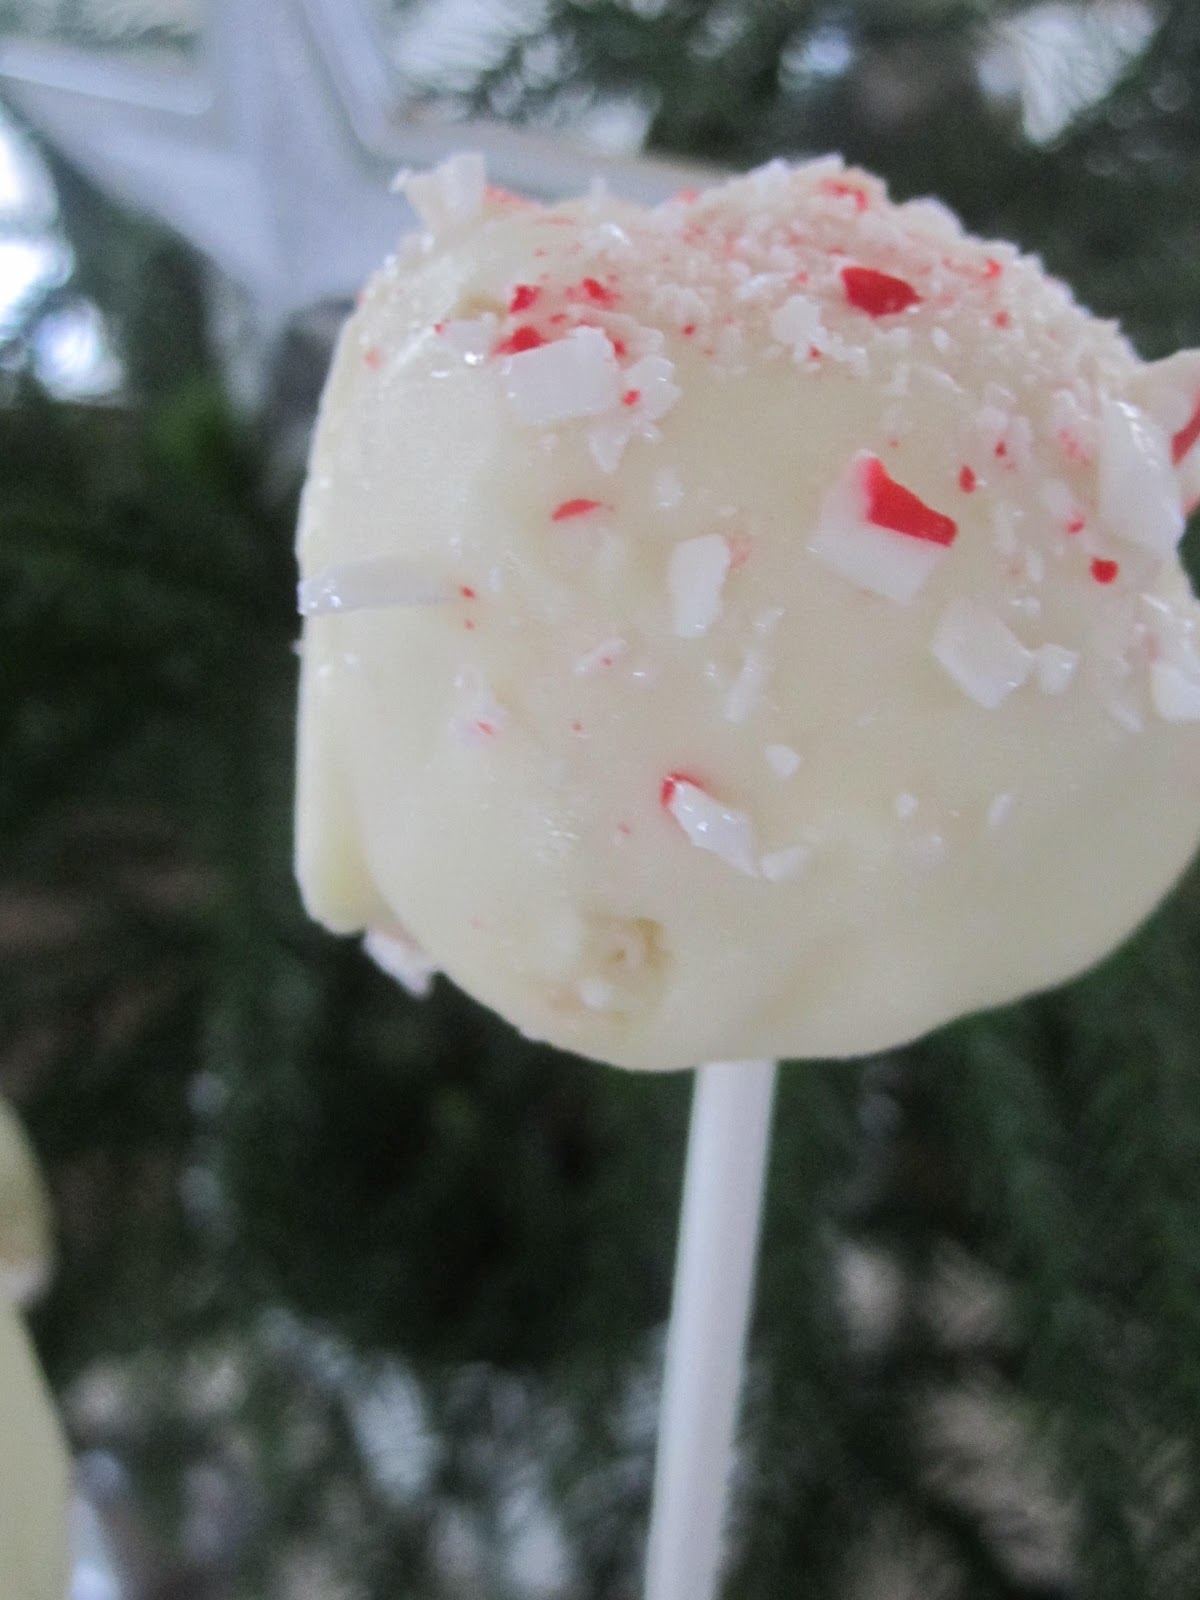
Vanilla Peppermint Cake Pop

Ingredients:
Of course, you could do whatever flavor/kind you want!
vanilla cake mix
tub of vanilla frosting
peppermint candy toppings
white chocolate for dipping
sticks
Directions:
Bake your cake and ruin it by breaking into pieces.
Mix the cake crumbs with the frosting and roll into balls.  Place your balls in the freezer.
Melt chocolate.  Dip the end of a stick into the chocolate and gently stick the stick in the center of the frozen ball.  Swirl in the chocolate until covered. Sprinkle peppermint candy.  Place your finished cake pops back in the freezer on wax paper until ready to serve.
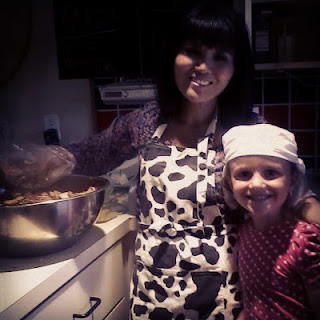
I had very eager, happy helpers.

Chocolate Crème Whoopie Pies


There may be a better recipe out there, but I followed this one.
I had mine today with my morning cup of Joe... yum, yum, yum.

(Blue Eyed) The Elf on the Shelf: A Christmas Tradition with Elf.Opens in a new window
Before I sign off, have you heard of Elf on a Shelf?  My Uncle Ladd and Aunt Beth, who have the best taste and are uber creative, fun parents, told us about it!  It sounds like a really charming tradition, and I'm hoping to pick one up if they go on sale after Christmas!  Have you heard of it or do you have it? 
Alrighty, time to get our rears in gear {as my Mama says}.  Bye!

Holiday Treats

Tuesday, December 13, 2011


I have some sweet treats for you this week! 
First, Cranberry Bliss Bars
They are perfection!  They just so happen to contain some of my favorite ingredients: white chocolate, dried cranberries, and cream cheese frosting! 


The bars consist of a blondie cake base, topped with cream cheese frosting, dried cranberries and white orange drizzle.  Have you tried one at Starbucks?  I've had one and that was inspiration enough. :)

Cranberry Bliss Bars
Yield: 2 1/2 dozen bars
recipe adapted slightly from http://www.recipegirl.com/2011/11/14/cranberry-bliss-bars/
Prep Time: 35 min
Cook Time: 20 min + cooling time

Ingredients:
BLONDIE LAYER:
3/4 cup (1 1/2 sticks) salted butter, melted
1 1/2 cups packed light brown sugar
2 large eggs
3/4 teaspoon vanilla extract
2 1/4 cups all-purpose flour
1 1/2 teaspoons baking powder
1/4 teaspoon salt
1/4 teaspoon ground cinnamon
1/2 cup dried cranberries
6 ounces white chocolate chips

FROSTING:
1 package (8 ounces) cream cheese, softened
1 cup powdered sugar
6 ounces white baking chocolate, melted
1/2 cup dried cranberries
1 tablespoon grated orange zest

Directions:
1. Preheat the oven to 350 degrees F. Spray a 13x9-inch baking dish with nonstick spray.
2. Prepare the blondie layer: In a medium bowl, melt butter in the microwave; stir in brown sugar. Scrape the butter and sugar into a large bowl and let cool to room temperature. Use an electric mixer to beat in the eggs and vanilla. In a separate bowl, whisk together the flour, baking powder, salt and cinnamon; gradually add the dry mixture to the butter mixture. Stir in the cranberries and chocolate chips (the batter will be thick).
3. Spread the blondie batter into the prepared pan. Bake for 18-25 minutes or until a toothpick inserted in the center comes out clean (do not over bake). Cool completely on a wire rack.
4. Prepare the frosting: In a large bowl, use an electric mixer to beat the cream cheese and powdered sugar until well-blended. Gradually add half of the melted white chocolate and grated orange zest; beat until blended. Frost bars. Sprinkle with cranberries. Drizzle with remaining melted white chocolate. Cut into bars- square or triangle-shaped. Store in the refrigerator until ready to serve. 
Oh, and isn't this the cutest Christmas video ever? I guess the cute family does the video in lieu of Christmas cards. Wouldn't it be so fun to do?  OK, not gonna happen, but fun to watch. :)
 http://vimeo.com/32954901
Be back!

Pepperiment Bark

Sunday, December 4, 2011


I hadn't tried peppermint bark before last year, but we were given some when Julia was born, and I was instantly hooked.  It is satisfying and addictive {is that an oxymoron?} .  I walked by it at Costco last week and wanted to get a container, but at a whopping twelve dollars and some cents, I left without it.  I decided to try and make my own.  It was easy AND good!
Here is the recipe if you want to try!
Peppermint Bark:
6 ounces semi sweet chocolate, coarsely chopped {don't go cheap on your chocolate, get a nice brand}
2 teaspoons vegetable oil
6 ounces white chocolate, coarsely chopped
1/2 cup crushed candy canes
Makes about 25 pieces

Line the bottom and sides of an 8" square baking pan with aluminum foil, smoothing out the wrinkles. 
Melt semi sweet chocolate and 1 teaspoon of vegetable oil in a heatproof bowl placed over a saucepan of simmering water.  Immediately pour the melted chocolate into the prepared pan, tilting pan so the chocolate makes an even layer.  Place in the refrigerator for about 30 minutes, or until chocolate has set.
Do the same with the white chocolate and remaining 1 teaspoon of vegetable oil.  Immediately pour the melted white chocolate over the dark chocolate and tilt pan so the chocolate is an even layer. 
Sprinkle the crushed candy canes even only the white chocolate.  Place in the refrigerator for about 30 minutes, or until chocolate is set.
Remove bark from the pan by lifting the edges of the tin foil.  Peel back the foil and break the bark into small irregular pieces.

Keep in an airtight container in the fridge for 2 weeks {like it will last that long!}.
Enjoy with coffee or as an after-dinner-treat... Yum!
Powered by Blogger.
Theme Designed By Hello Manhattan
|

Your copyright

Your own copyright